
How to Add Google Sign-In to Amazon Cognito with Account Linking (CDK + PreSignUp)
Adding Continue with Google to an Amazon Cognito application is straightforward. The interesting part comes when a user already has an email/password account and later signs in with Google using the same email.
By default, Cognito can create a second federated user. You end up with two identities, two sub values, and potentially data split across two accounts.
In this tutorial we’ll solve both parts:
- Add Google as an Identity Provider in Cognito with AWS CDK.
- Link a Google identity to an existing native Cognito user with the same verified email using a
PreSignUptrigger.
The real example is AWS Announcements Hub, a serverless application built with React, Amazon Cognito, Amazon API Gateway, AWS Lambda, Amazon DynamoDB and AWS CDK.
This tutorial assumes you already have a Cognito User Pool and native email/password login working.
How the flow works
Your application does not authenticate directly against Google. Cognito acts as the broker:
1
User → App → Cognito OAuth endpoint → Google → Cognito → App
Google authenticates the user and redirects back to Cognito. Cognito then returns Cognito tokens to your application, so the rest of your backend continues validating the same JWTs regardless of whether the user signed in with password or Google.
Step 1: Configure Google
- Create or select a project.
- Configure Branding and the consent screen.
- Add the scopes
openid,email, andprofile. - Create an OAuth client of type Web application.
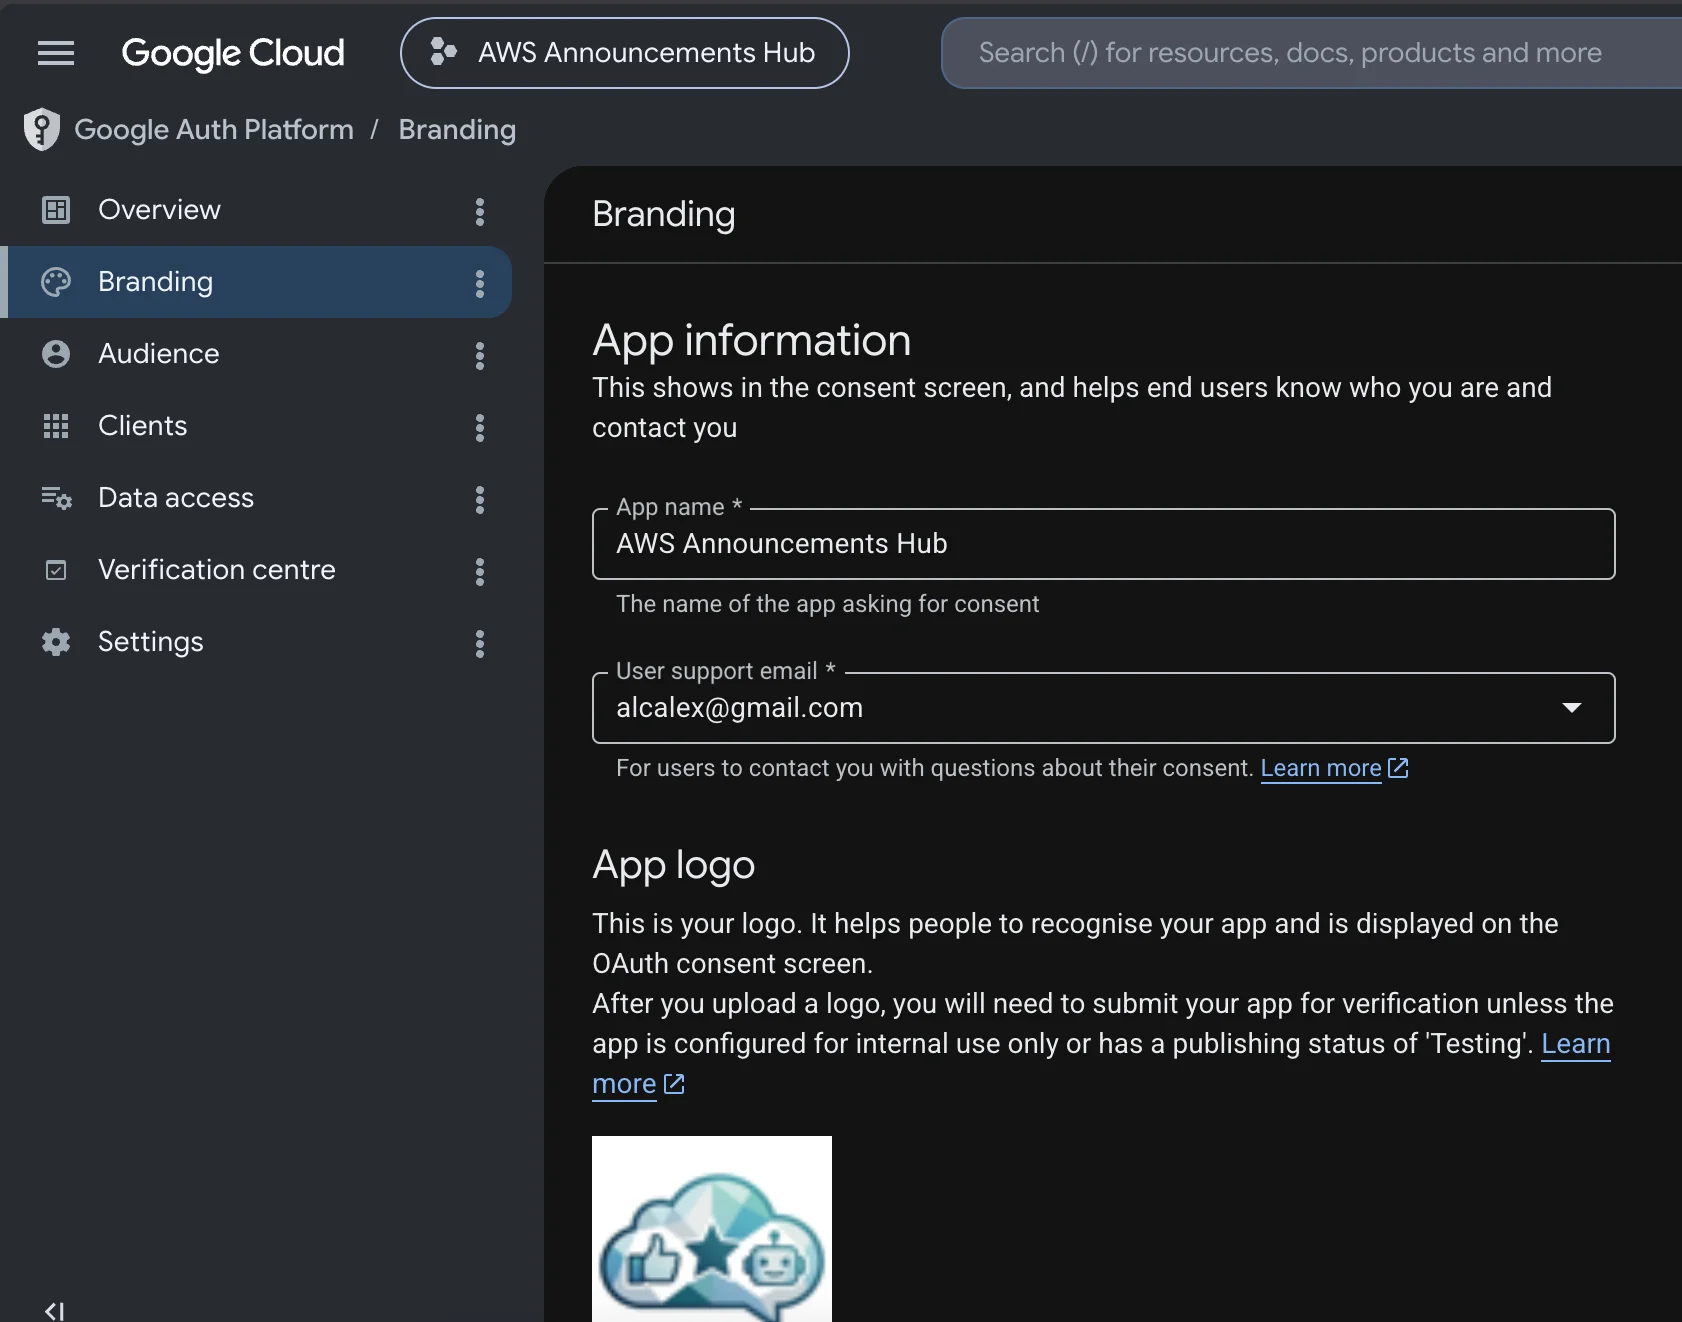 Branding configuration for the OAuth consent flow
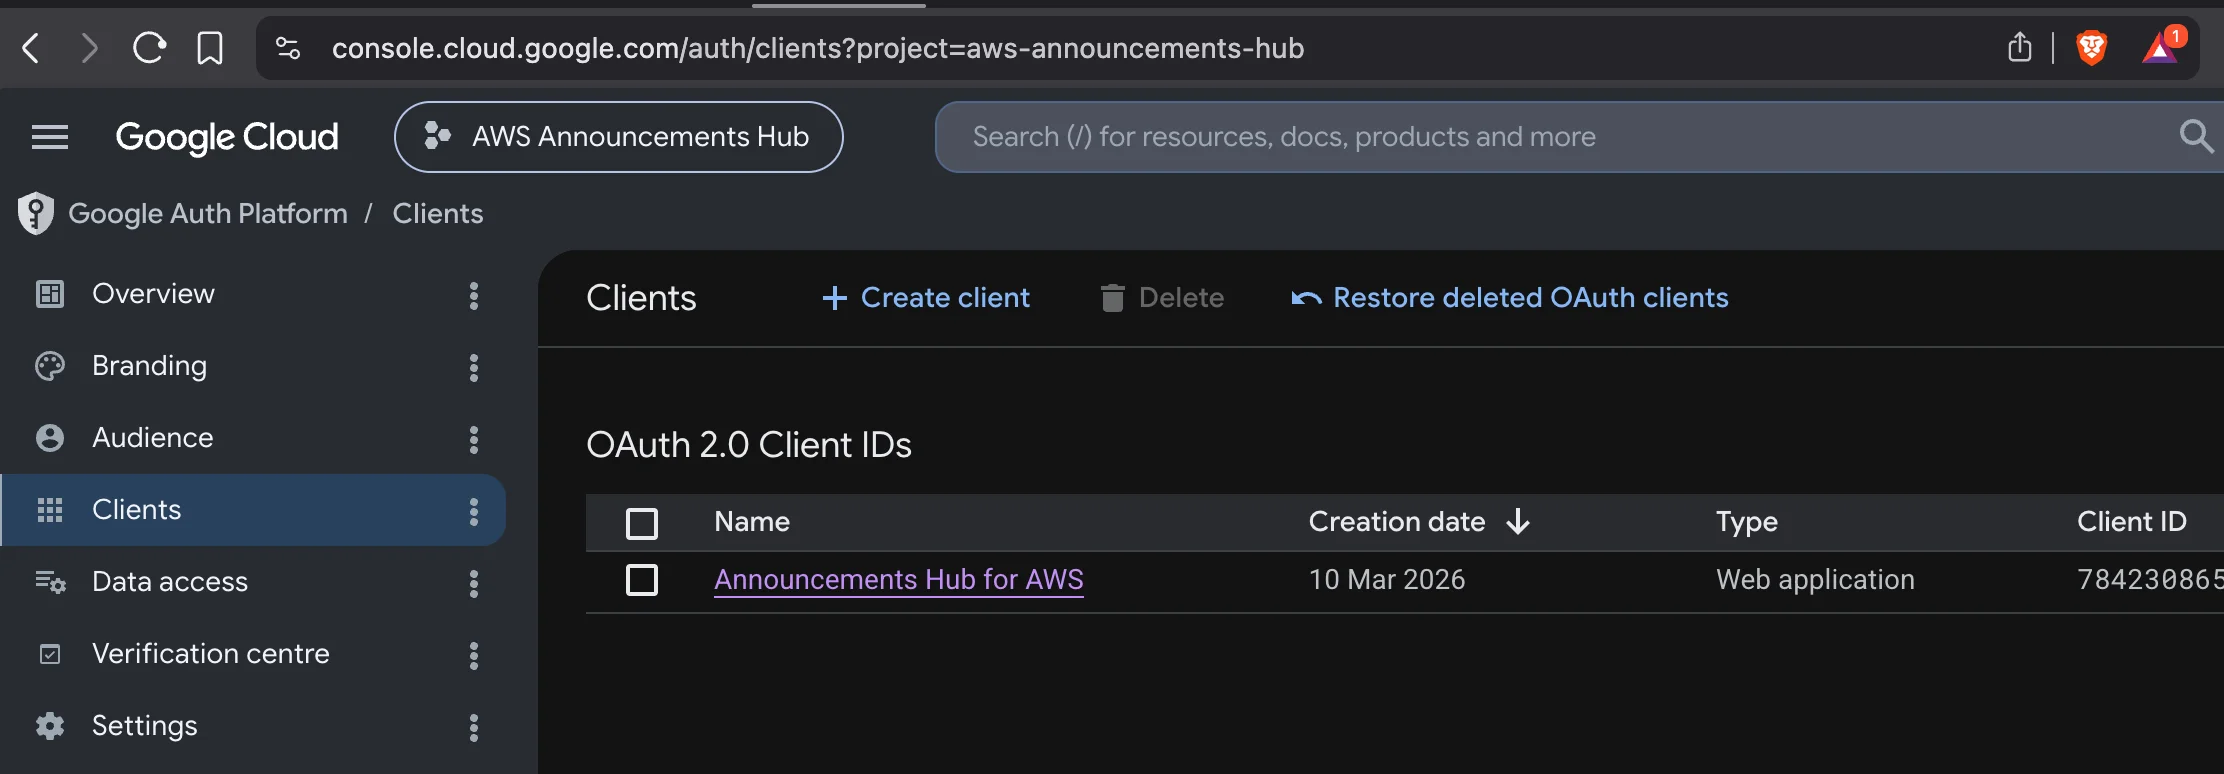 The OAuth 2.0 client used by Cognito
The important value is the Authorized redirect URI. Google redirects to Cognito, not directly to your application.
For example, if your Cognito domain is:
1
news-playingaws-prod.auth.eu-south-2.amazoncognito.com
register:
1
https://news-playingaws-prod.auth.eu-south-2.amazoncognito.com/oauth2/idpresponse
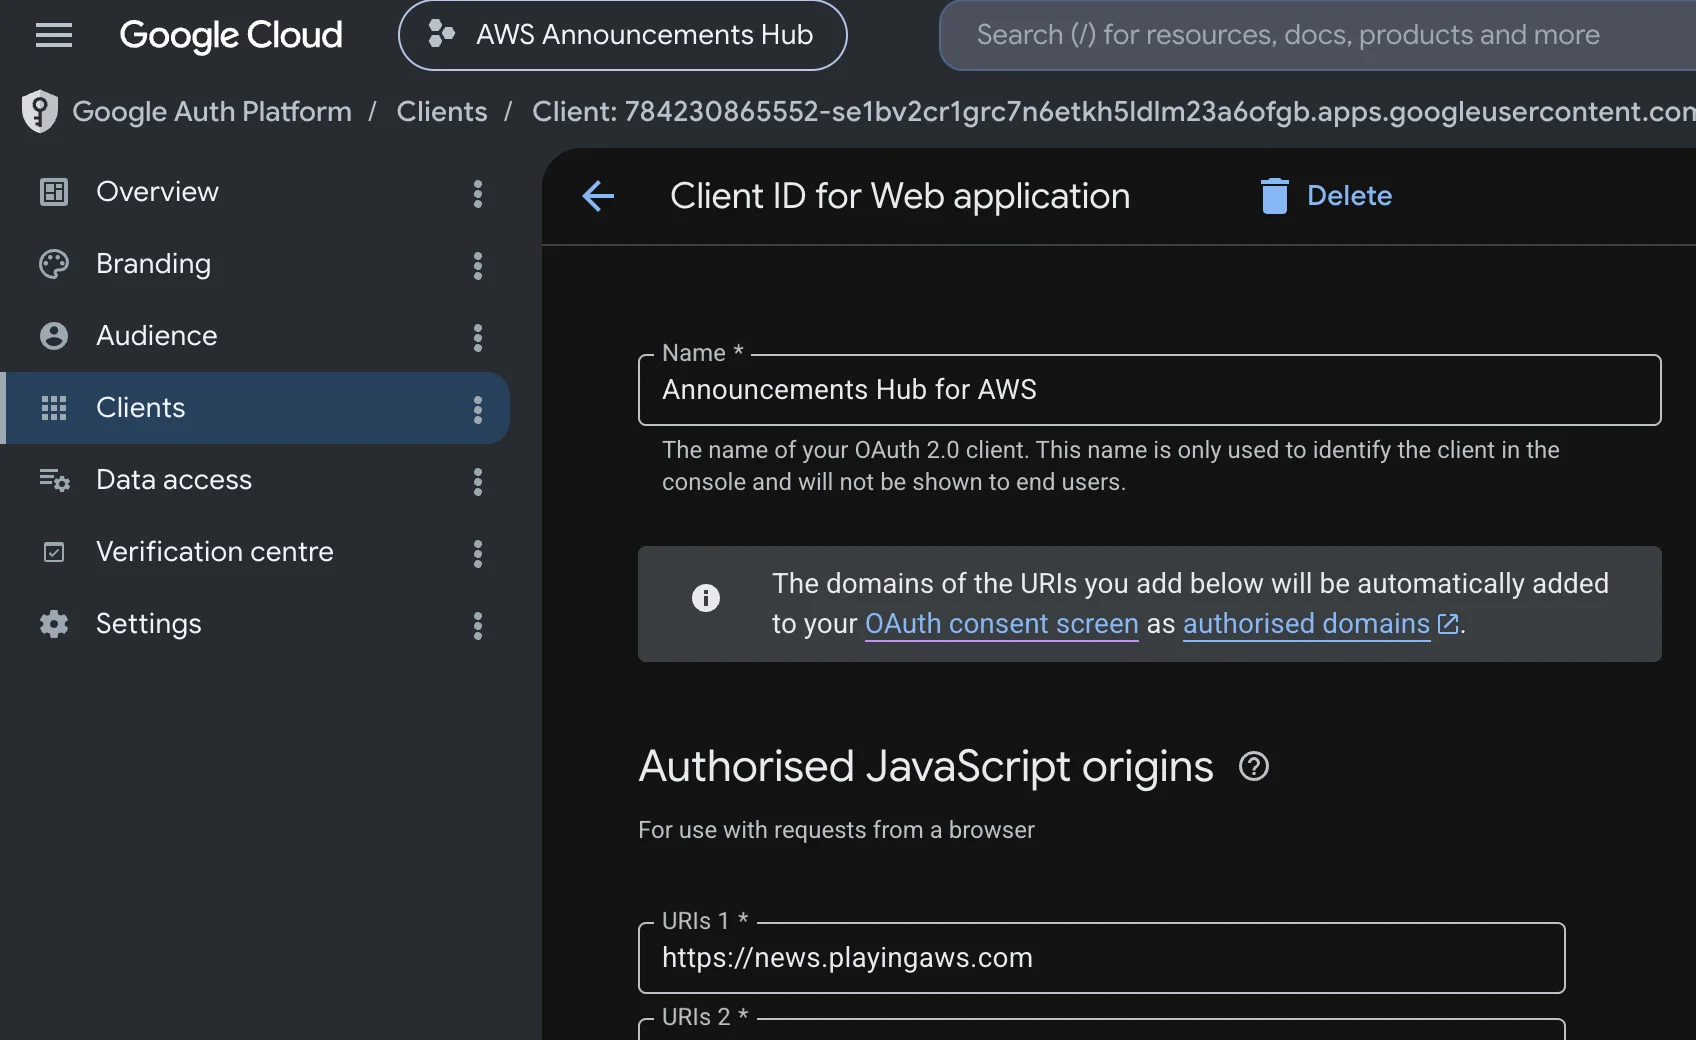 The OAuth client with Cognito’s
 /oauth2/idpresponse callback
Save the Client ID and Client Secret.
Step 2: Store the Google credentials
Do not put the Google Client Secret in the repository.
For this example, keep the Client ID in Parameter Store and the secret in Secrets Manager:
1
2
3
4
5
6
7
8
9
10
11
12
REGION=eu-south-2

aws ssm put-parameter \
  --name "/news/prod/google-client-id" \
  --value "YOUR_CLIENT_ID.apps.googleusercontent.com" \
  --type String \
  --region $REGION

aws secretsmanager create-secret \
  --name "/news/prod/google-client-secret" \
  --secret-string 'YOUR_CLIENT_SECRET' \
  --region $REGION
ssm-securelooks like the obvious choice for the secret, butAWS::Cognito::UserPoolIdentityProviderdoes not reliably support that dynamic reference for these properties. Secrets Manager avoids that problem.
Step 3: Configure Cognito with CDK
We need three things: a Cognito domain, the Google Identity Provider, and OAuth configuration on the User Pool Client.
Cognito domain
1
2
3
4
5
userPool.addDomain("ManagedLoginDomain", {
  cognitoDomain: {
    domainPrefix: `news-playingaws-${environment}`,
  },
});
Google Identity Provider
1
2
3
4
5
6
7
8
9
10
11
12
13
14
15
16
17
18
19
const googleClientId = ssm.StringParameter.valueForStringParameter(
  this,
  `/news/${environment}/google-client-id`,
);

const googleProvider = new cognito.UserPoolIdentityProviderGoogle(this, "GoogleIdP", {
  userPool,
  clientId: googleClientId,
  clientSecretValue: cdk.SecretValue.secretsManager(
    `/news/${environment}/google-client-secret`,
  ),
  scopes: ["openid", "email", "profile"],
  attributeMapping: {
    email: cognito.ProviderAttribute.GOOGLE_EMAIL,
    emailVerified: cognito.ProviderAttribute.other("email_verified"),
    givenName: cognito.ProviderAttribute.GOOGLE_GIVEN_NAME,
    familyName: cognito.ProviderAttribute.GOOGLE_FAMILY_NAME,
  },
});
Mapping email_verified is important because the linking logic will only trust verified identities.
User Pool Client OAuth configuration
1
2
3
4
5
6
7
8
9
10
11
12
13
14
15
16
17
18
19
20
21
22
23
24
25
26
27
28
29
30
31
const userPoolClient = userPool.addClient("WebClient", {
  authFlows: {
    userPassword: true,
    userSrp: true,
  },
  preventUserExistenceErrors: true,
  oAuth: {
    flows: {
      authorizationCodeGrant: true,
    },
    scopes: [
      cognito.OAuthScope.OPENID,
      cognito.OAuthScope.EMAIL,
      cognito.OAuthScope.PROFILE,
    ],
    callbackUrls: [
      "https://news.playingaws.com",
      "http://localhost:3000",
    ],
    logoutUrls: [
      "https://news.playingaws.com",
      "http://localhost:3000",
    ],
  },
  supportedIdentityProviders: [
    cognito.UserPoolClientIdentityProvider.COGNITO,
    cognito.UserPoolClientIdentityProvider.GOOGLE,
  ],
});

userPoolClient.node.addDependency(googleProvider);
We use the Authorization Code Grant. The frontend library will handle PKCE for us.
Step 4: Add Google Sign-In with Amplify
With Amplify v6, configure the Cognito OAuth domain and use signInWithRedirect():
1
2
3
4
5
6
7
8
9
10
11
12
13
14
15
16
17
18
19
20
Amplify.configure({
  Auth: {
    Cognito: {
      userPoolId,
      userPoolClientId,
      loginWith: {
        oauth: {
          domain: "news-playingaws-prod.auth.eu-south-2.amazoncognito.com",
          scopes: ["openid", "email", "profile"],
          redirectSignIn: [window.location.origin],
          redirectSignOut: [window.location.origin],
          responseType: "code",
        },
      },
    },
  },
});

export const signInWithGoogle = () =>
  signInWithRedirect({ provider: "Google" });
The button only needs to call signInWithGoogle().
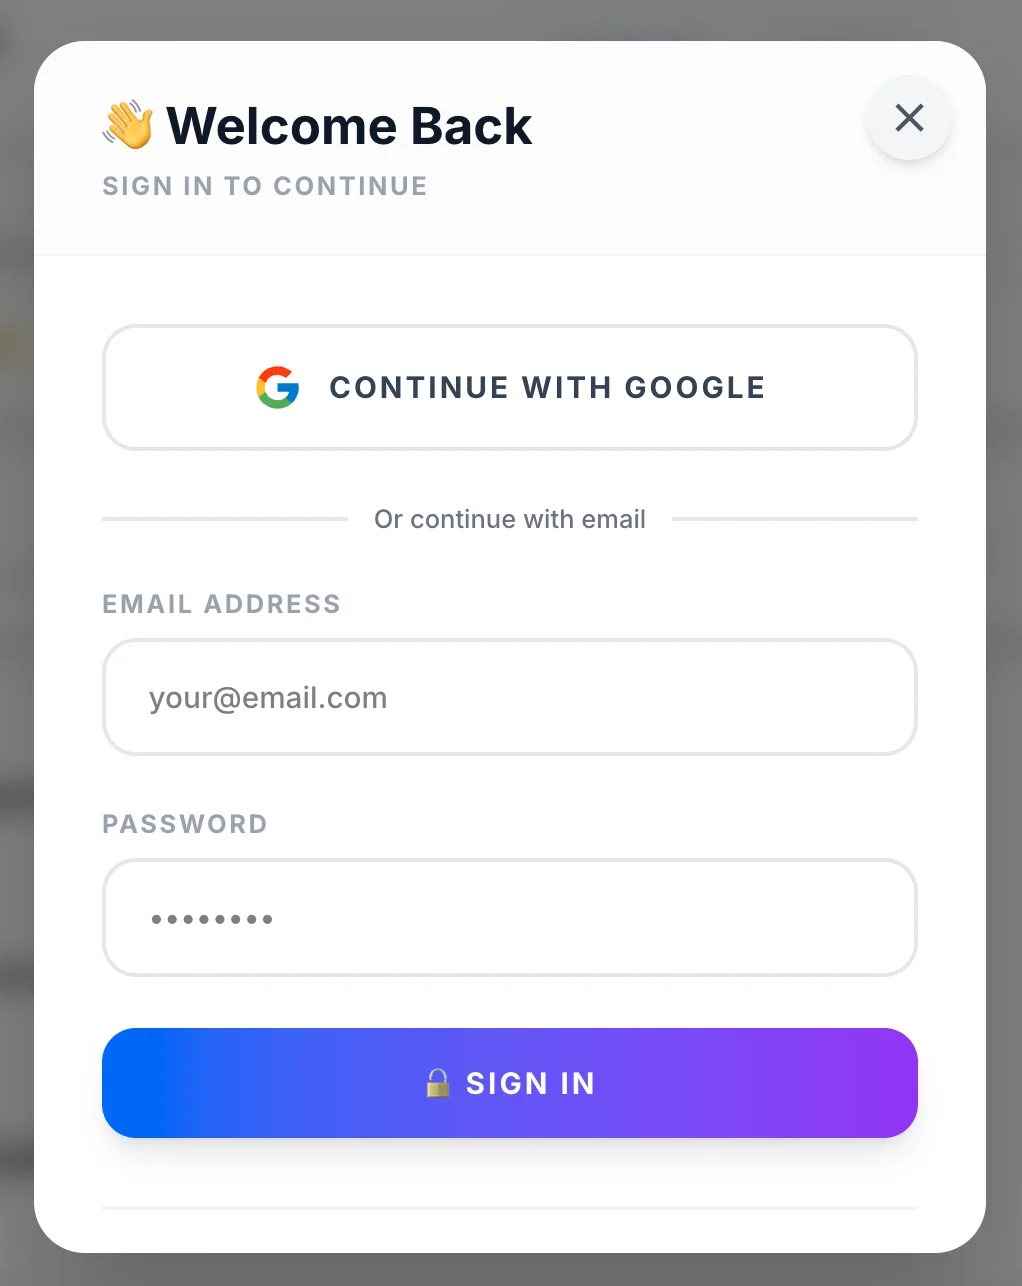 The native login and Google Sign-In can coexist in the same UI
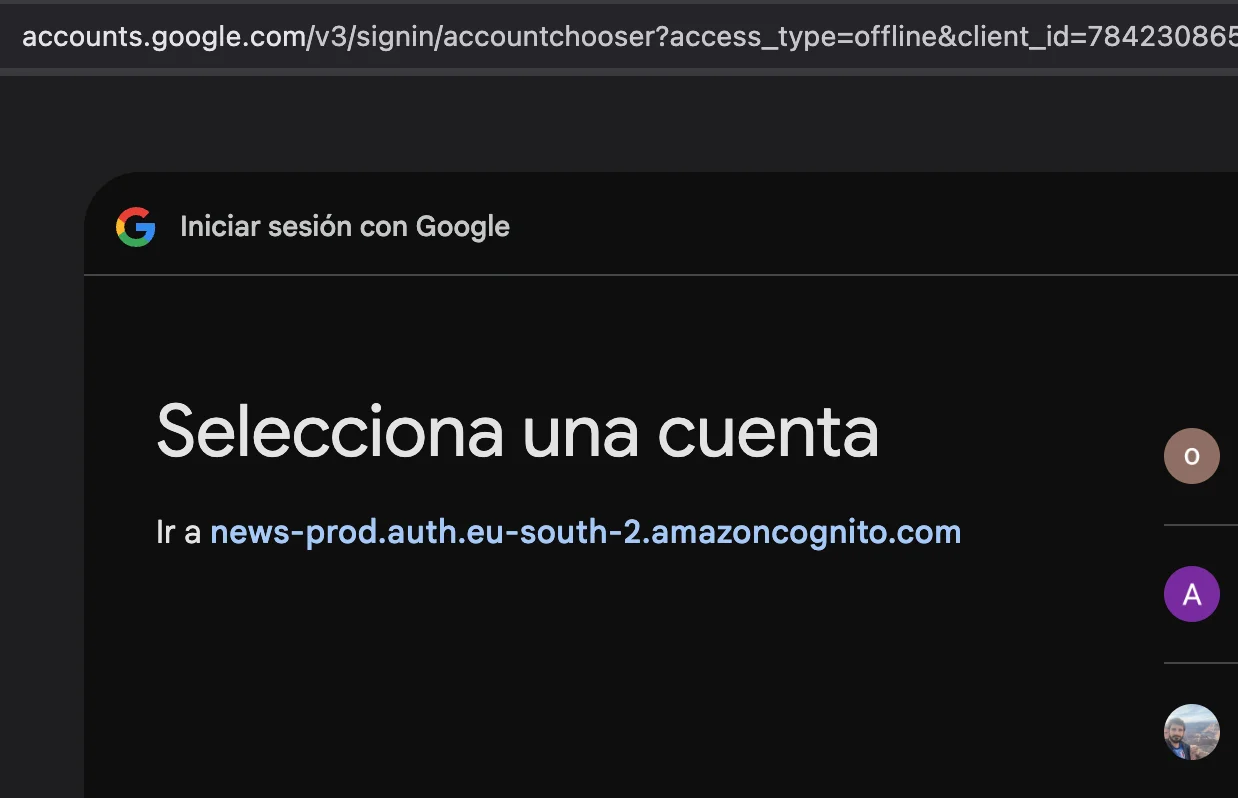 Google handles authentication and returns the user to Cognito
Step 5: Link Google to an existing Cognito user
This is the part that prevents duplicate accounts.
Imagine a user already registered with:
1
user@example.com + password
Later, they choose Continue with Google with the same verified email.
Without linking, Cognito can create a separate federated user such as Google_....
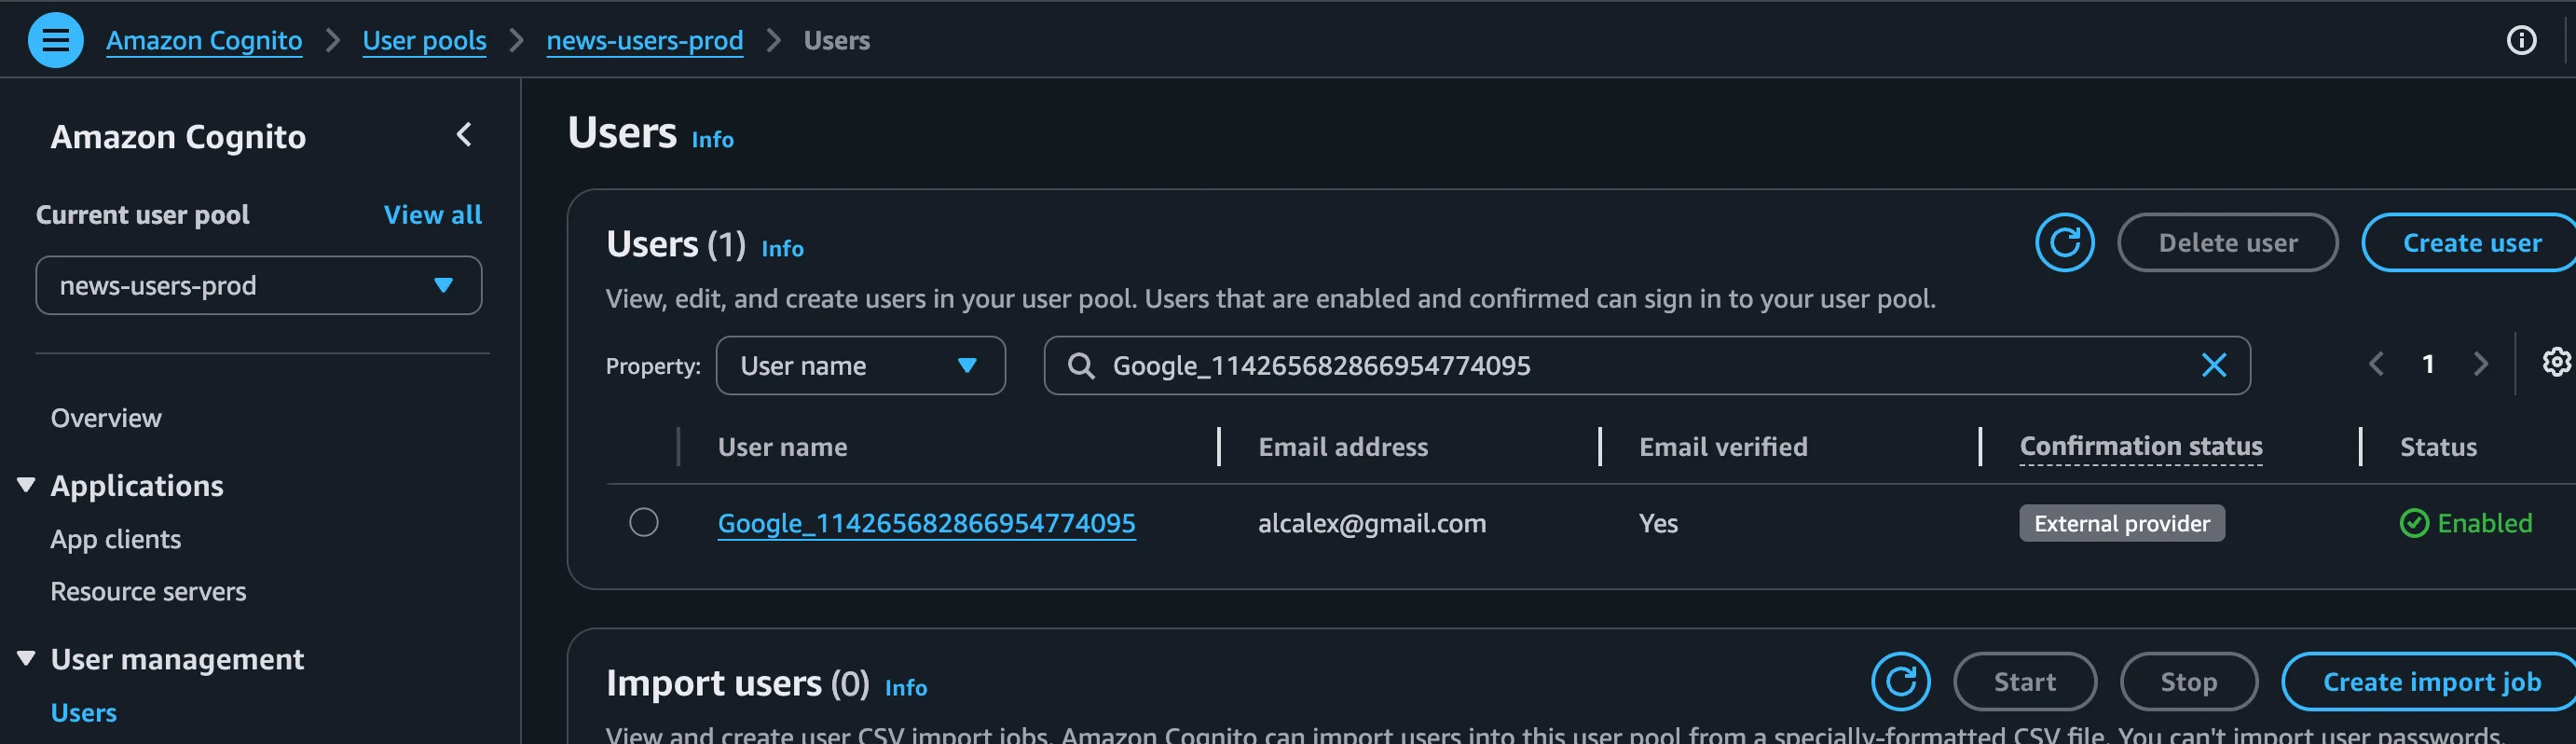 Without linking, the native and Google identities can exist as separate users
We fix that with a PreSignUp trigger. Cognito invokes the Lambda before creating the external user, giving us an opportunity to attach that Google identity to the existing native user.
The PreSignUp Lambda
1
2
3
4
5
6
7
8
9
10
11
12
13
14
15
16
17
18
19
20
21
22
23
24
25
26
27
28
29
30
31
32
33
34
35
36
37
38
39
40
41
42
43
44
45
46
47
48
49
50
51
52
53
54
55
56
57
58
59
60
61
62
63
64
65
66
67
68
69
70
import {
  AdminLinkProviderForUserCommand,
  CognitoIdentityProviderClient,
  ListUsersCommand,
} from "@aws-sdk/client-cognito-identity-provider";

const client = new CognitoIdentityProviderClient({});

export async function handler(event: any) {
  if (event.triggerSource !== "PreSignUp_ExternalProvider") {
    return event;
  }

  const email = event.request.userAttributes.email;
  const externalEmailVerified =
    event.request.userAttributes.email_verified === "true";

  if (!email || !externalEmailVerified) {
    return event;
  }

  const separator = event.userName.indexOf("_");
  if (separator < 1) {
    return event;
  }

  const providerName = event.userName.slice(0, separator);
  const providerUserId = event.userName.slice(separator + 1);

  const { Users = [] } = await client.send(
    new ListUsersCommand({
      UserPoolId: event.userPoolId,
      Filter: `email = "${email}"`,
      Limit: 10,
    }),
  );

  const nativeUser = Users.find((user) => {
    const emailVerified = user.Attributes?.find(
      (attribute) => attribute.Name === "email_verified",
    )?.Value;

    return (
      user.Username &&
      !user.Username.startsWith(`${providerName}_`) &&
      emailVerified === "true"
    );
  });

  if (!nativeUser?.Username) {
    return event;
  }

  await client.send(
    new AdminLinkProviderForUserCommand({
      UserPoolId: event.userPoolId,
      DestinationUser: {
        ProviderName: "Cognito",
        ProviderAttributeValue: nativeUser.Username,
      },
      SourceUser: {
        ProviderName: providerName,
        ProviderAttributeName: "Cognito_Subject",
        ProviderAttributeValue: providerUserId,
      },
    }),
  );

  return event;
}
The important detail is that the existing native user is the destination. Its Cognito identity is preserved and the Google identity is attached to it.
That means any application data already associated with the native user’s sub continues to point to the same account.
Only link identities when you trust the email on both sides. In this example, Google must report
email_verified=trueand the existing Cognito user must also have a verified email.
Wire the trigger in CDK
1
2
3
4
5
6
7
8
9
10
11
12
13
14
15
16
17
18
19
20
21
22
23
24
25
26
27
const preSignUpFn = new lambda.Function(this, "PreSignUpTrigger", {
  runtime: lambda.Runtime.NODEJS_24_X,
  architecture: lambda.Architecture.ARM_64,
  handler: "services/auth/pre-signup.handler",
  code: lambda.Code.fromAsset("../../backend/dist"),
});

const userPool = new cognito.UserPool(this, "UserPool", {
  // ...rest of the configuration...
  lambdaTriggers: {
    preSignUp: preSignUpFn,
  },
});

preSignUpFn.role?.attachInlinePolicy(
  new iam.Policy(this, "PreSignUpLinkPolicy", {
    statements: [
      new iam.PolicyStatement({
        actions: [
          "cognito-idp:ListUsers",
          "cognito-idp:AdminLinkProviderForUser",
        ],
        resources: [userPool.userPoolArn],
      }),
    ],
  }),
);
To verify the behavior, create a native account, sign out, and then use Google with the same verified email. Cognito should keep the native account and attach the Google identity instead of creating a second independent user.
Troubleshooting
- Google
redirect_uri_mismatch: make sure Cognito’s exact.../oauth2/idpresponseURL is registered in the Google OAuth client. - Cognito
redirect_mismatch: the URL sent by the app must exactly match one of the User Pool ClientcallbackUrls. - Users are still duplicated: confirm the trigger is configured as
PreSignUp, is receivingPreSignUp_ExternalProvider, and can callAdminLinkProviderForUser.
Conclusion
Adding Google Sign-In to Cognito is mostly configuration. The part worth paying attention to is identity consolidation.
Without account linking, a user who already has a password account can end up with a second Google-backed Cognito user and a different sub. With a small PreSignUp Lambda, you can keep the existing native user as the canonical identity and attach Google on top of it.
The result is simple from the user’s perspective: one account, two ways to sign in.